Element Titles
Elements can have a Title added. Adding titles to your elements will improve the readability of your process and assist with troubleshooting. If no titles are added to a diagram, the diagram will be difficult to read and understand.

Above: An example diagram with no titles.

Above: The same diagram, with titles added.
Large elements (such as Tasks) will display their titles within the element's symbol. Smaller elements (such as Start Events or End Events) will display their title text underneath the element symbol.
There are several methods for adding a title, which are explained below.
Adding Titles via Keyboard Shortcut
To add a title to an element:
-
Select an element by clicking it
-
Press E on the keyboard
-
Type the desired title into the element
-
Confirm the title by:
- Pressing Enter or Return on your keyboard, or
- Clicking on the Canvas
Adding Titles When an Element is Placed
After an element is placed, Workflow's UI immediately will prompt you to give the element a title.

-
Type the desired title into the element
-
Confirm the title by:
- Pressing Enter or Return on your keyboard, or
- Clicking on the Canvas
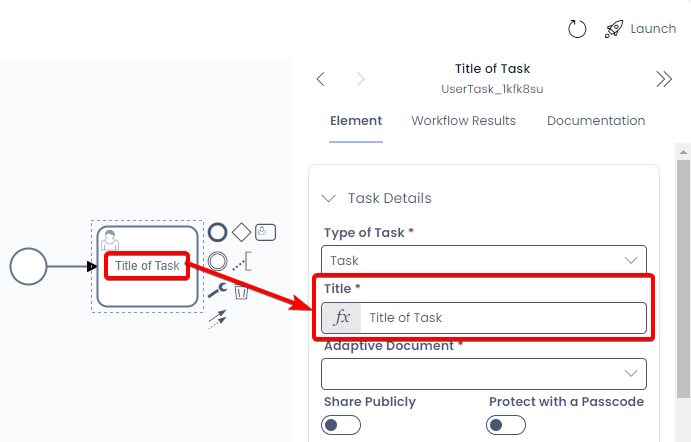
Adding Titles via the Properties Panel
Certain element types will display information in the Properties Panel. For example, a basic task (with no icon) will not allow the user to edit the tasks properties. However, the User Task element can be configured. Selecting a User Task will allow you to edit the Title in the Properties Panel.
- Select an element by clicking it on the Canvas
- Ensure the Element tab is selected in the Properties Panel
- Edit the the title using the Title field
- Confirm the title by:
- Pressing the Save button in the top toolbar